
6A61.20 PINHOLE CAMERA
Web Accessibility - Legacy Page
This page has been identified as older than June 1, 2014. Per MSU's Web Accessibility agreement with the Office for Civil Rights, content that has not been updated since this date is considered "legacy" and does not need accessibility errors remediated.
If you make edits to this page and republish it, you will need to correct any accessibility errors that exist - all MSU web pages created or updated past June 1, 2014 are required to meet our current Web Accessibility standards. Visit our help center article on working with legacy web pages and content for more information.
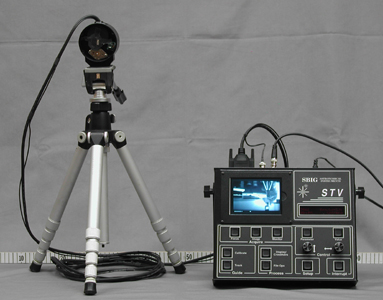 |
(remove top plate and filter wheel from CCD, tape pinhole over cover glass, check alignment) (check settings in Focus menu: Image Size-full) (check settings in Image menu: Zoom-normal, Gain-1X, Mode-continuous) (may need extra BNC cable and adapters) |
Back